
By Alex Comstock
Now that the 2019 deer season has concluded, it marked my fourth season self-filming my hunts. Self-filming is by no means a walk in the park, and you truly have to understand what your goals are that come with it before you set out to try and do it. When I first started, I wanted to just have fun with it, which if that’s your end goal, then all the power to you. But I quickly realized I wanted to become enamored with it, and turn it into creating content and so forth. So, I started a YouTube channel, and here we are a few years later, as I ultimately turned filming and photographing into my full-time job, even though a large majority of that is based outside of the hunting world. But, I still run a YouTube channel, and kick out videos weekly. With that, I’m going to link to a YouTube video which explains this blog post in it’s entirety, but if you’re not able to take the fifteen minutes to watch, I’ll run through it quicker here as well.
*To see videos from me, be sure to subscribe to my YouTube channel HERE.
The Gear
Before we jump into actually how to self-film, you’ll need to know what gear to get. There’s a ton of different items you could get, but I’m going to cover what I have, because it works for me, and I don’t want to talk about items that I don’t have.
Muddy Camera Arm & Base: The first thing you need is a camera arm and base. This is what actually is mounted to the tree and what holds your camera up and allows you to pivot and film smoothly, while also allowing you to get a shot off as well. Self-filming is going to be nearly impossible if you’re looking for any sort of quality without a camera arm. Links here: Camera Base, Camera Arm
Fluid Head & Varizoom: Connected to your camera arm should be a fluid head, which allows you to move your camera smoothly. The fluid head has a handle on it, and something very handy you can purchase is a varizoom controller. A varizoom plugs into a video camera and lets you operate the camera all with one hand very easily. This makes it nice so you don’t have to use two hands on the camera. Links here: Fluid head, Varizoom

Tripod: Just as a camera arm is a necessity for self-filming from a treestand, a tripod is the same for hunting from the ground. If you’re hunting from a ground blind or just on the ground without a blind, and want to film, you’ll need a tripod to make that happen. For me, I prefer a manfrotto tripod as it’s light and compact and I have linked it here: Manfrotto Tripod
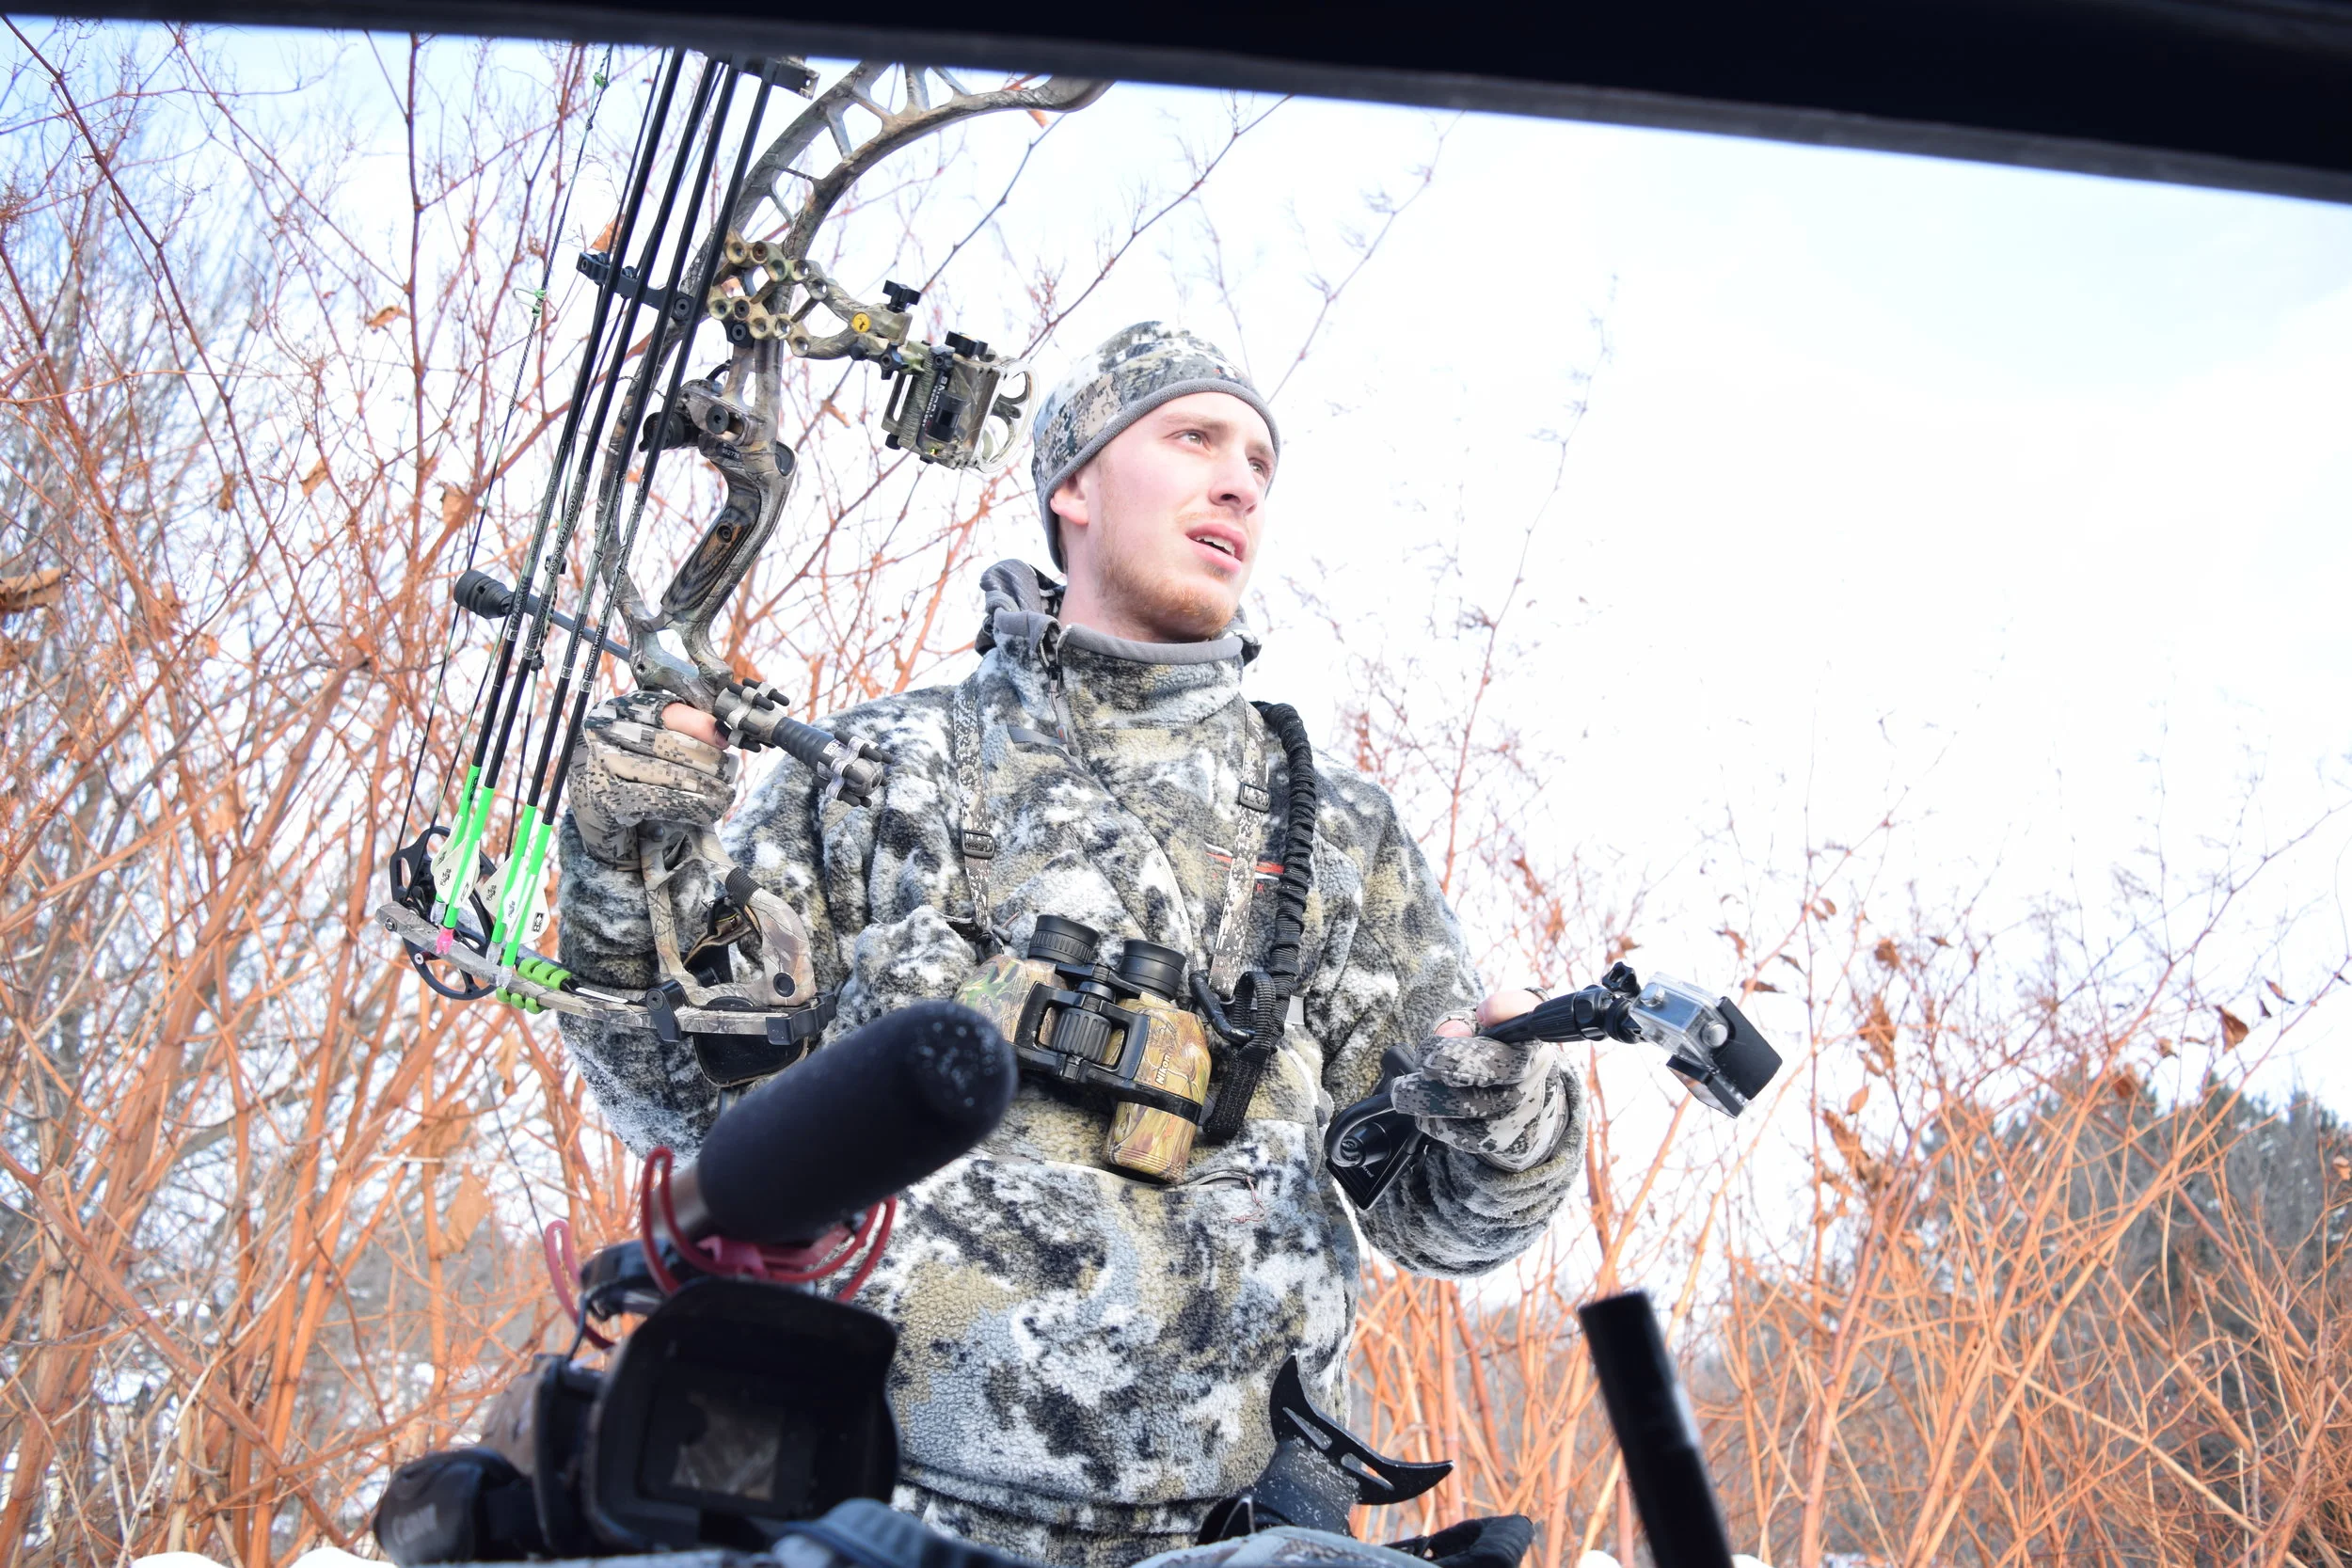
Cameras: Obviously in order to film your hunts, you’re going to need a camera or in my case a few cameras. The first camera I want to talk about is a main camera. This is what you’ll have attached to your camera arm or tripod and will do the majority of your filming. A great option here for less experienced filmers is a point and shoot camera. My recommendation would be a Canon G40. I have a Canon G30, but the G40 is the updated version. This camera is very easy to operate and still produces a quality picture. The next camera I want to talk about is a DSRL or a mirrorless camera. These can work great as a second angle camera and for photos when in the field. I personally run a Sony A7 iii, but there are plenty of good options for less money. Once you gain experience, having a camera like this can actually be a great main camera, but it’s much harder to film with, as you need two hands to operate the camera. And lastly, having a Gopro or something similar also works great for a second angle. You can get a clamp where you’re able to attach the Gopro to a branch or your bow hanger or something along those lines and capture a unique angle of the hunt. Typically, I’ll have this camera pointed at me, to show me drawing back, etc. Links here: Canon G40, Sony A7 iii, Gopro
Once you have the correct gear and understand how to use it all, the next thing to figure out is how to set it up once up in a treestand. Over the course of the last four years doing it, I think I’ve come up with a pretty good system, and will run through that next.

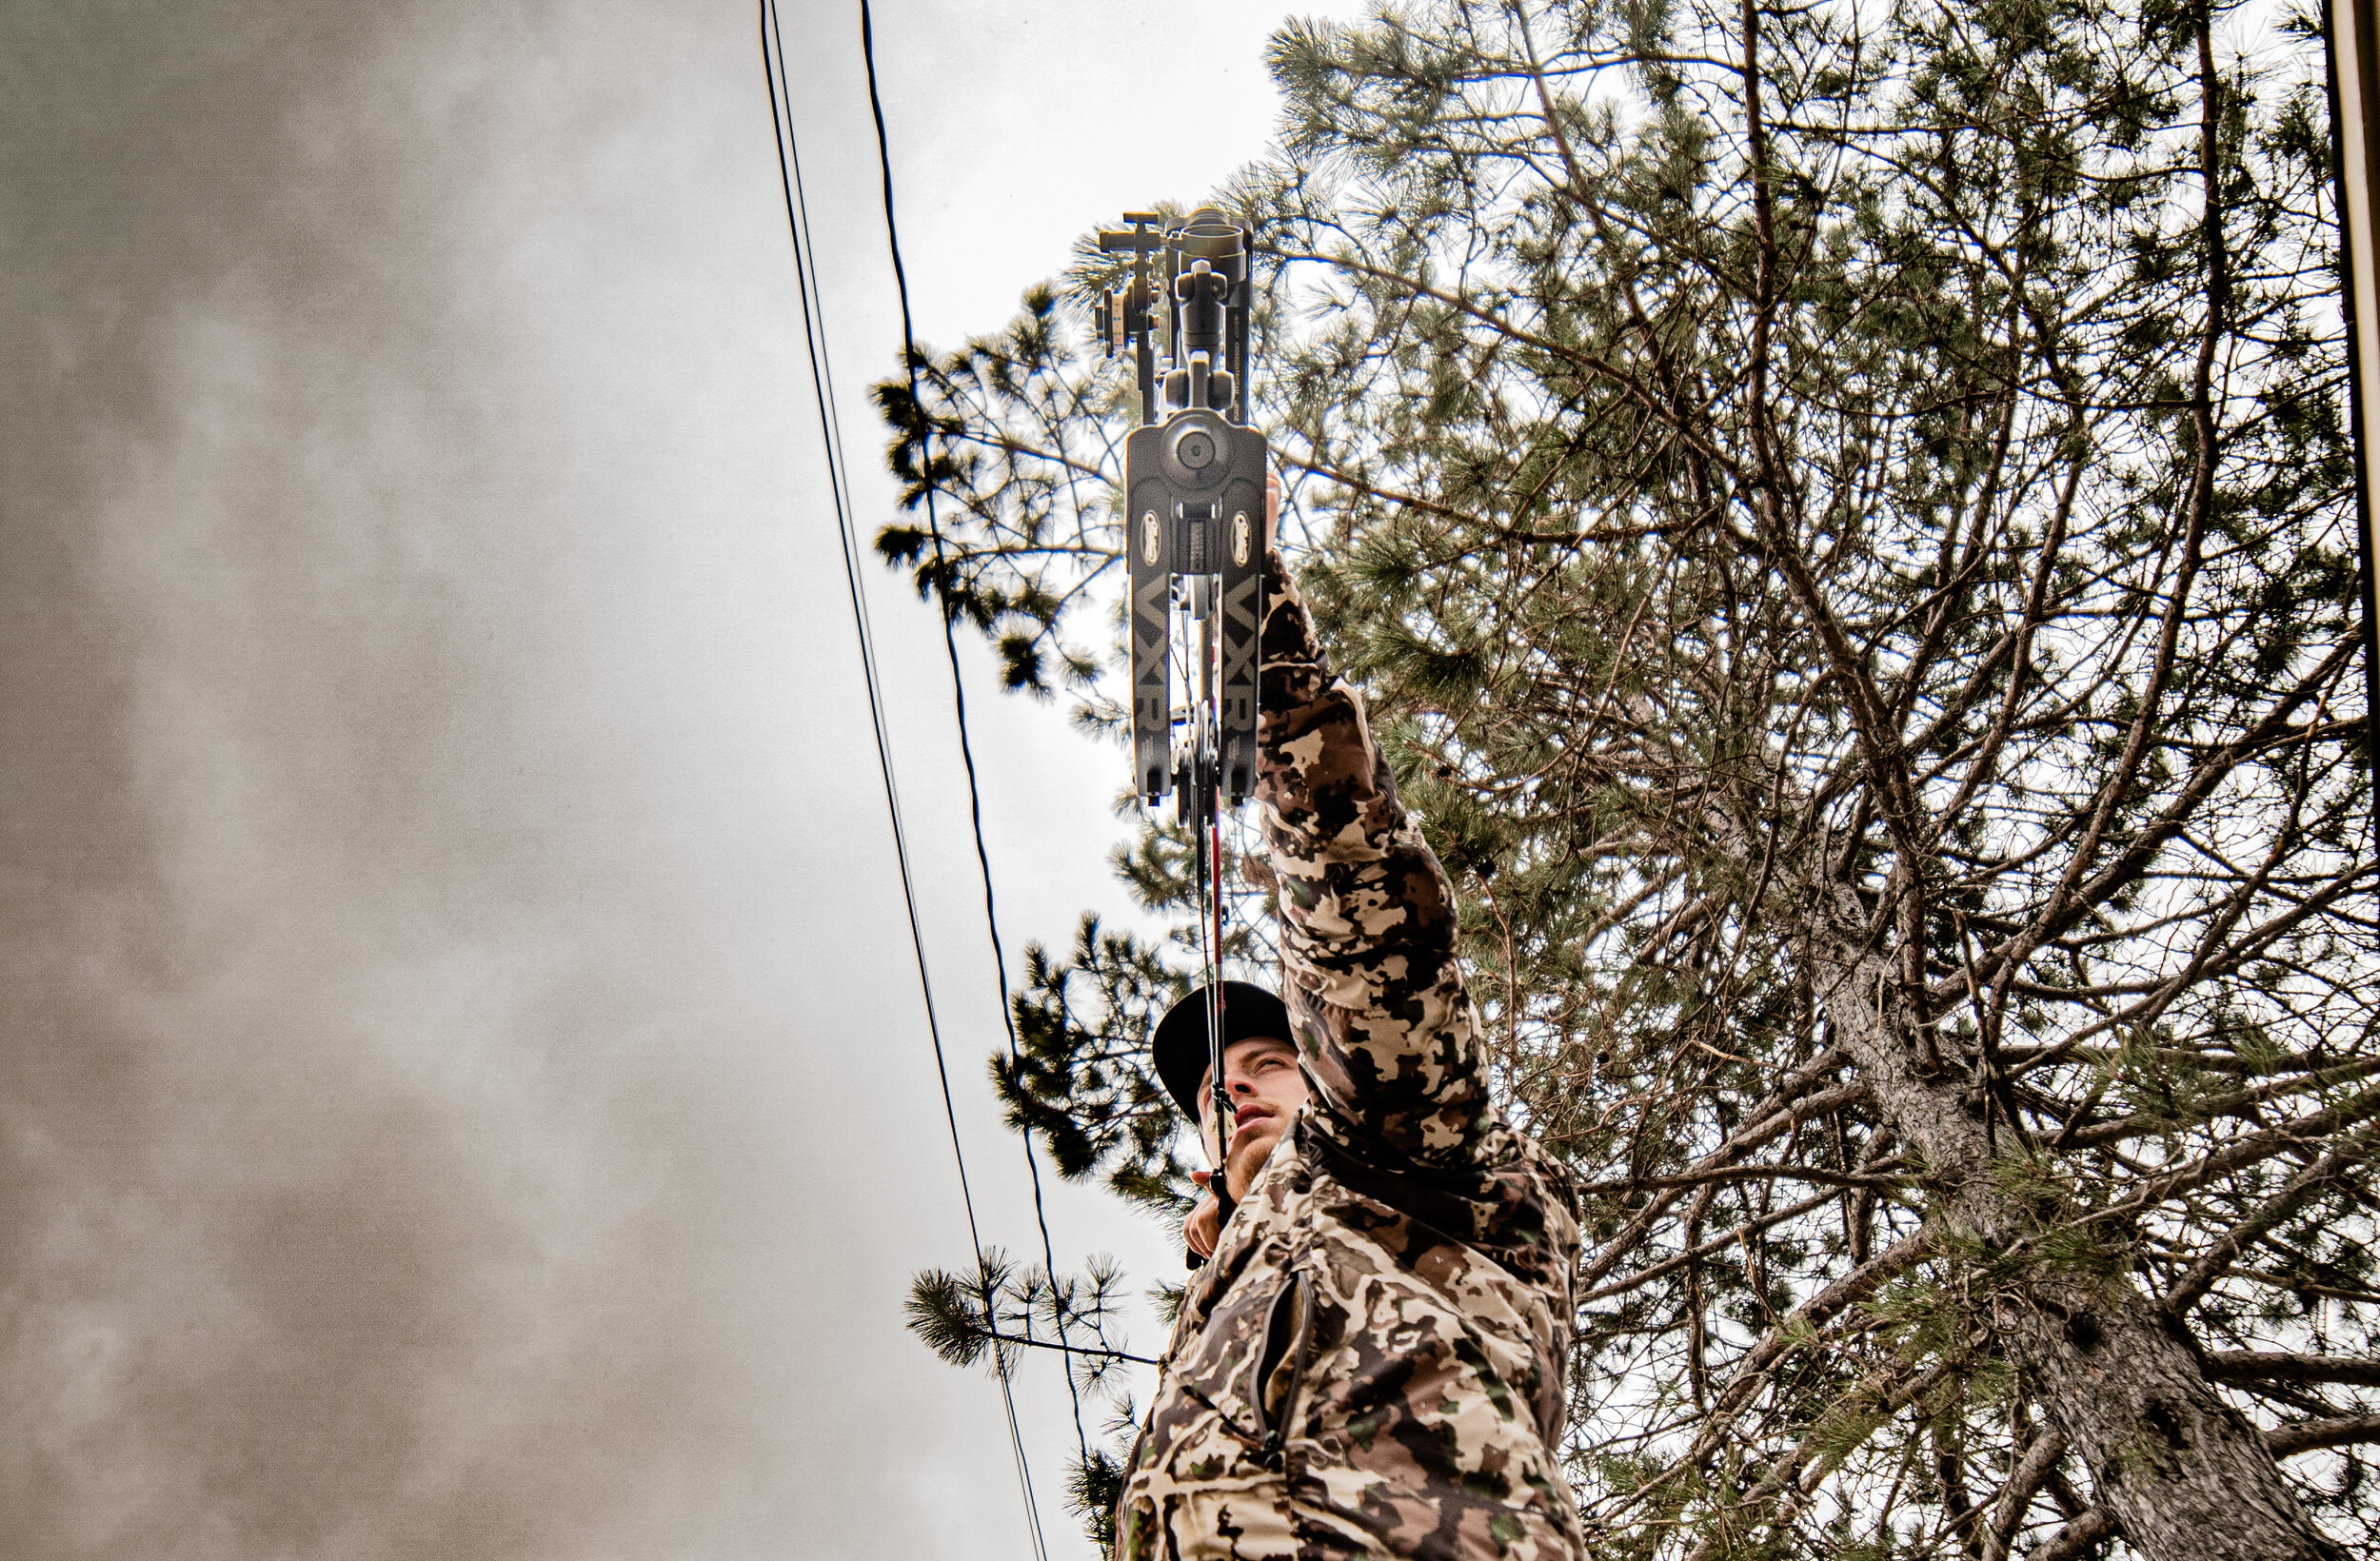
Camera Placement: Thing first thing you need to figure out once climbing into the stand is figuring out where to attach your camera arm and your camera. In a perfect world scenario, I like to have this on my right, about waist high when standing. The biggest reason in having the camera on the right side of me is I can grab my bow with my left hand and still control the camera with my right hand. I’ll then have my Gopro usually above me and out of the way. If a deer is approaching, you’ve got the ability to keep the camera on the deer with your right hand, while you’re bow is in your left hand, getting ready for a shot.
The Shot: The hardest thing hands down when self-filming is getting a shot on video. The biggest lesson I’ve learned is that when it comes to the time to shoot, you need to be thinking ahead of the game. As you’ve got the camera on the deer, many times you’ll stop, go to draw back, and that’s when the deer will walk out of frame. What I’ve learned, is you have to be good at anticipating where your shot will be. That way, after getting footage of the deer, you can then shift the camera to where you expect the shot to be, draw back and wait for the deer to walk in frame. It’s not easy, and self-filming will always be a challenge, but that’s they best way I’ve found to get a shot on video.
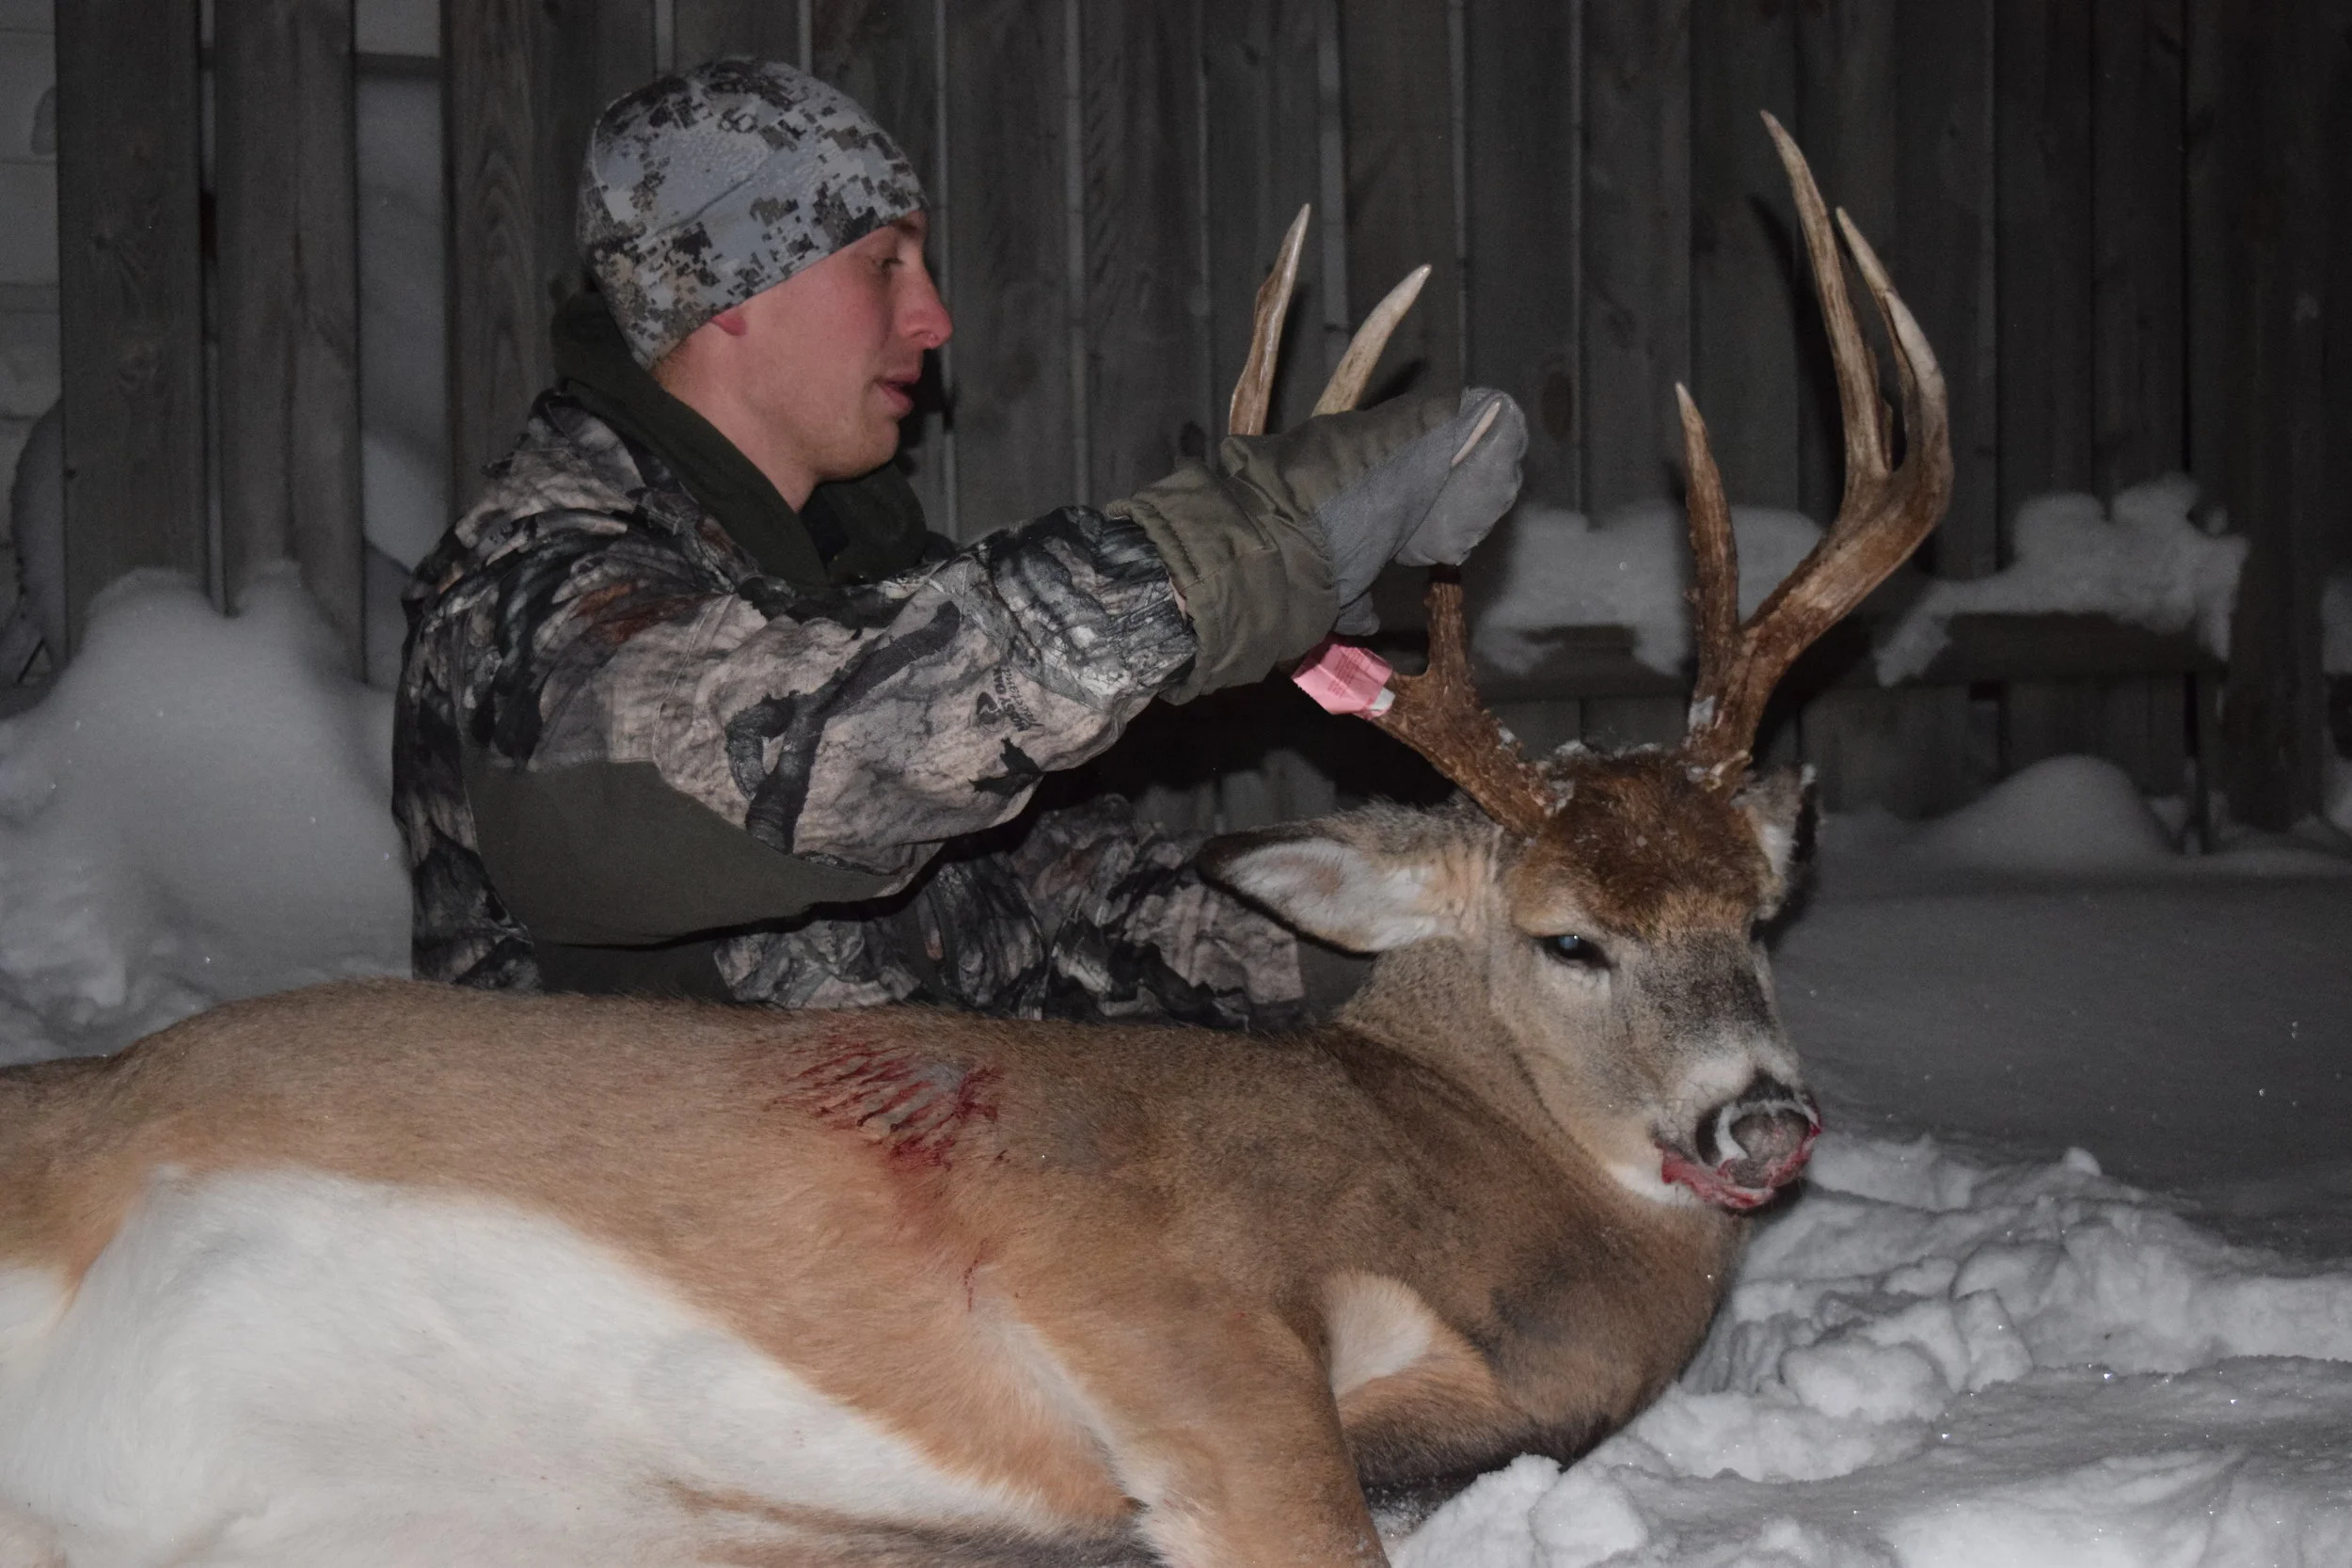
This is a great example of a well executed self-filmed hunt from my 2019 deer season.
conclusion
One of the first things you’ve got to ask yourself when it comes to self-filming is what do you want to accomplish with it? Is it just for fun, for a YouTube channel or show, or to just watch yourself? Because it’s not easy, and there’s going to be times you have to decide if the camera will dictate if you shoot something or not. Have fun with it, and see where it goes. I promise once you start, it will get easier with time!