By Alex Comstock
Trail cameras are undeniably a major addiction for most. There is nothing that can compare to that perfect trail camera setup. Likewise, it is unbelievably frustrating when something goes wrong with a trail camera setup. Having a perfect trail camera operation takes experience and a little bit of craft as there is much that goes into getting that perfect setup.
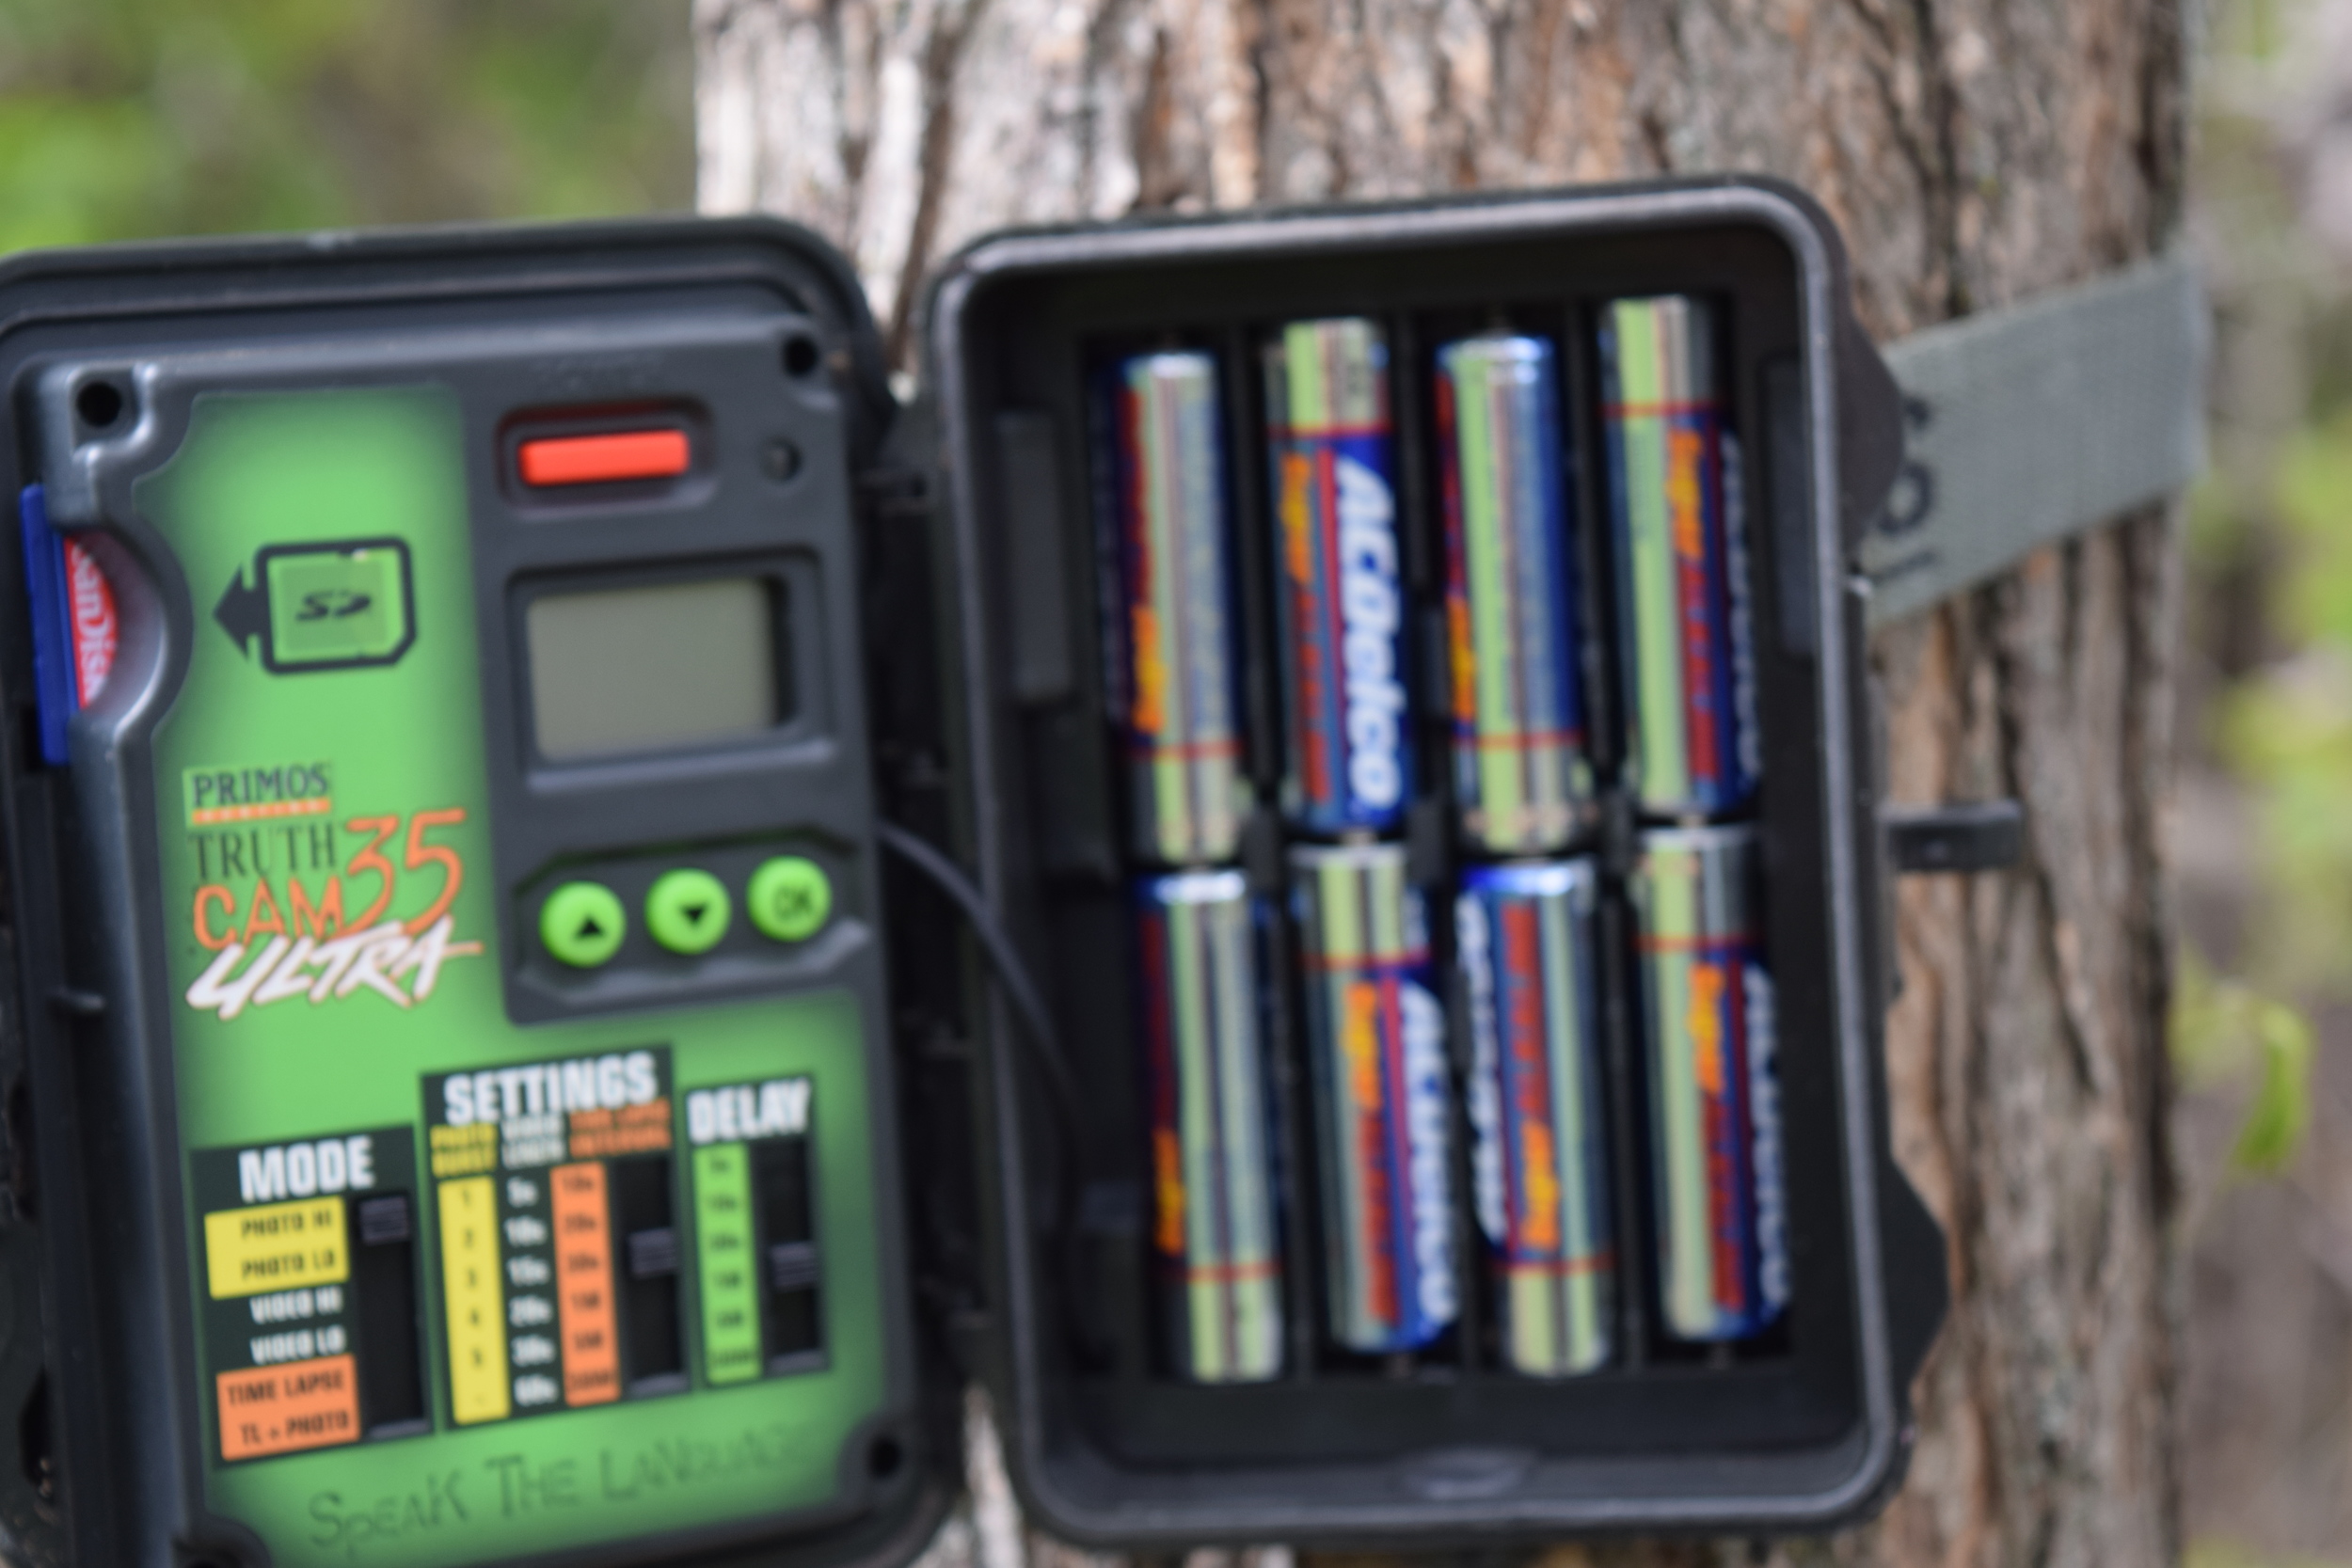
Proper Preparation. A perfect trail camera setup starts at home, before you ever get into the field. Take the time to go through your settings and have them set up properly. This is most important if you know your camera will be placed somewhere deer will be moving through quickly. If you can, turn the settings to maybe a 3 shot burst and only a 10 second delay to help ensure better pictures if a rutting buck is cruising through a pinch point. Make sure your batteries are good to go and not old. I have found (through trial and error) that lithium batteries, though more expensive, do a much more quality job at holding battery life. For that perfect setup, don't skimp on batteries and go with alkaline ones. This is personally hardest for me, as I am usually cheap and am always trying to get the cheapest batteries that I can find, and then get disappointed when my camera dies after a mere three months in the woods. Batteries can play a major role in a perfect setup.
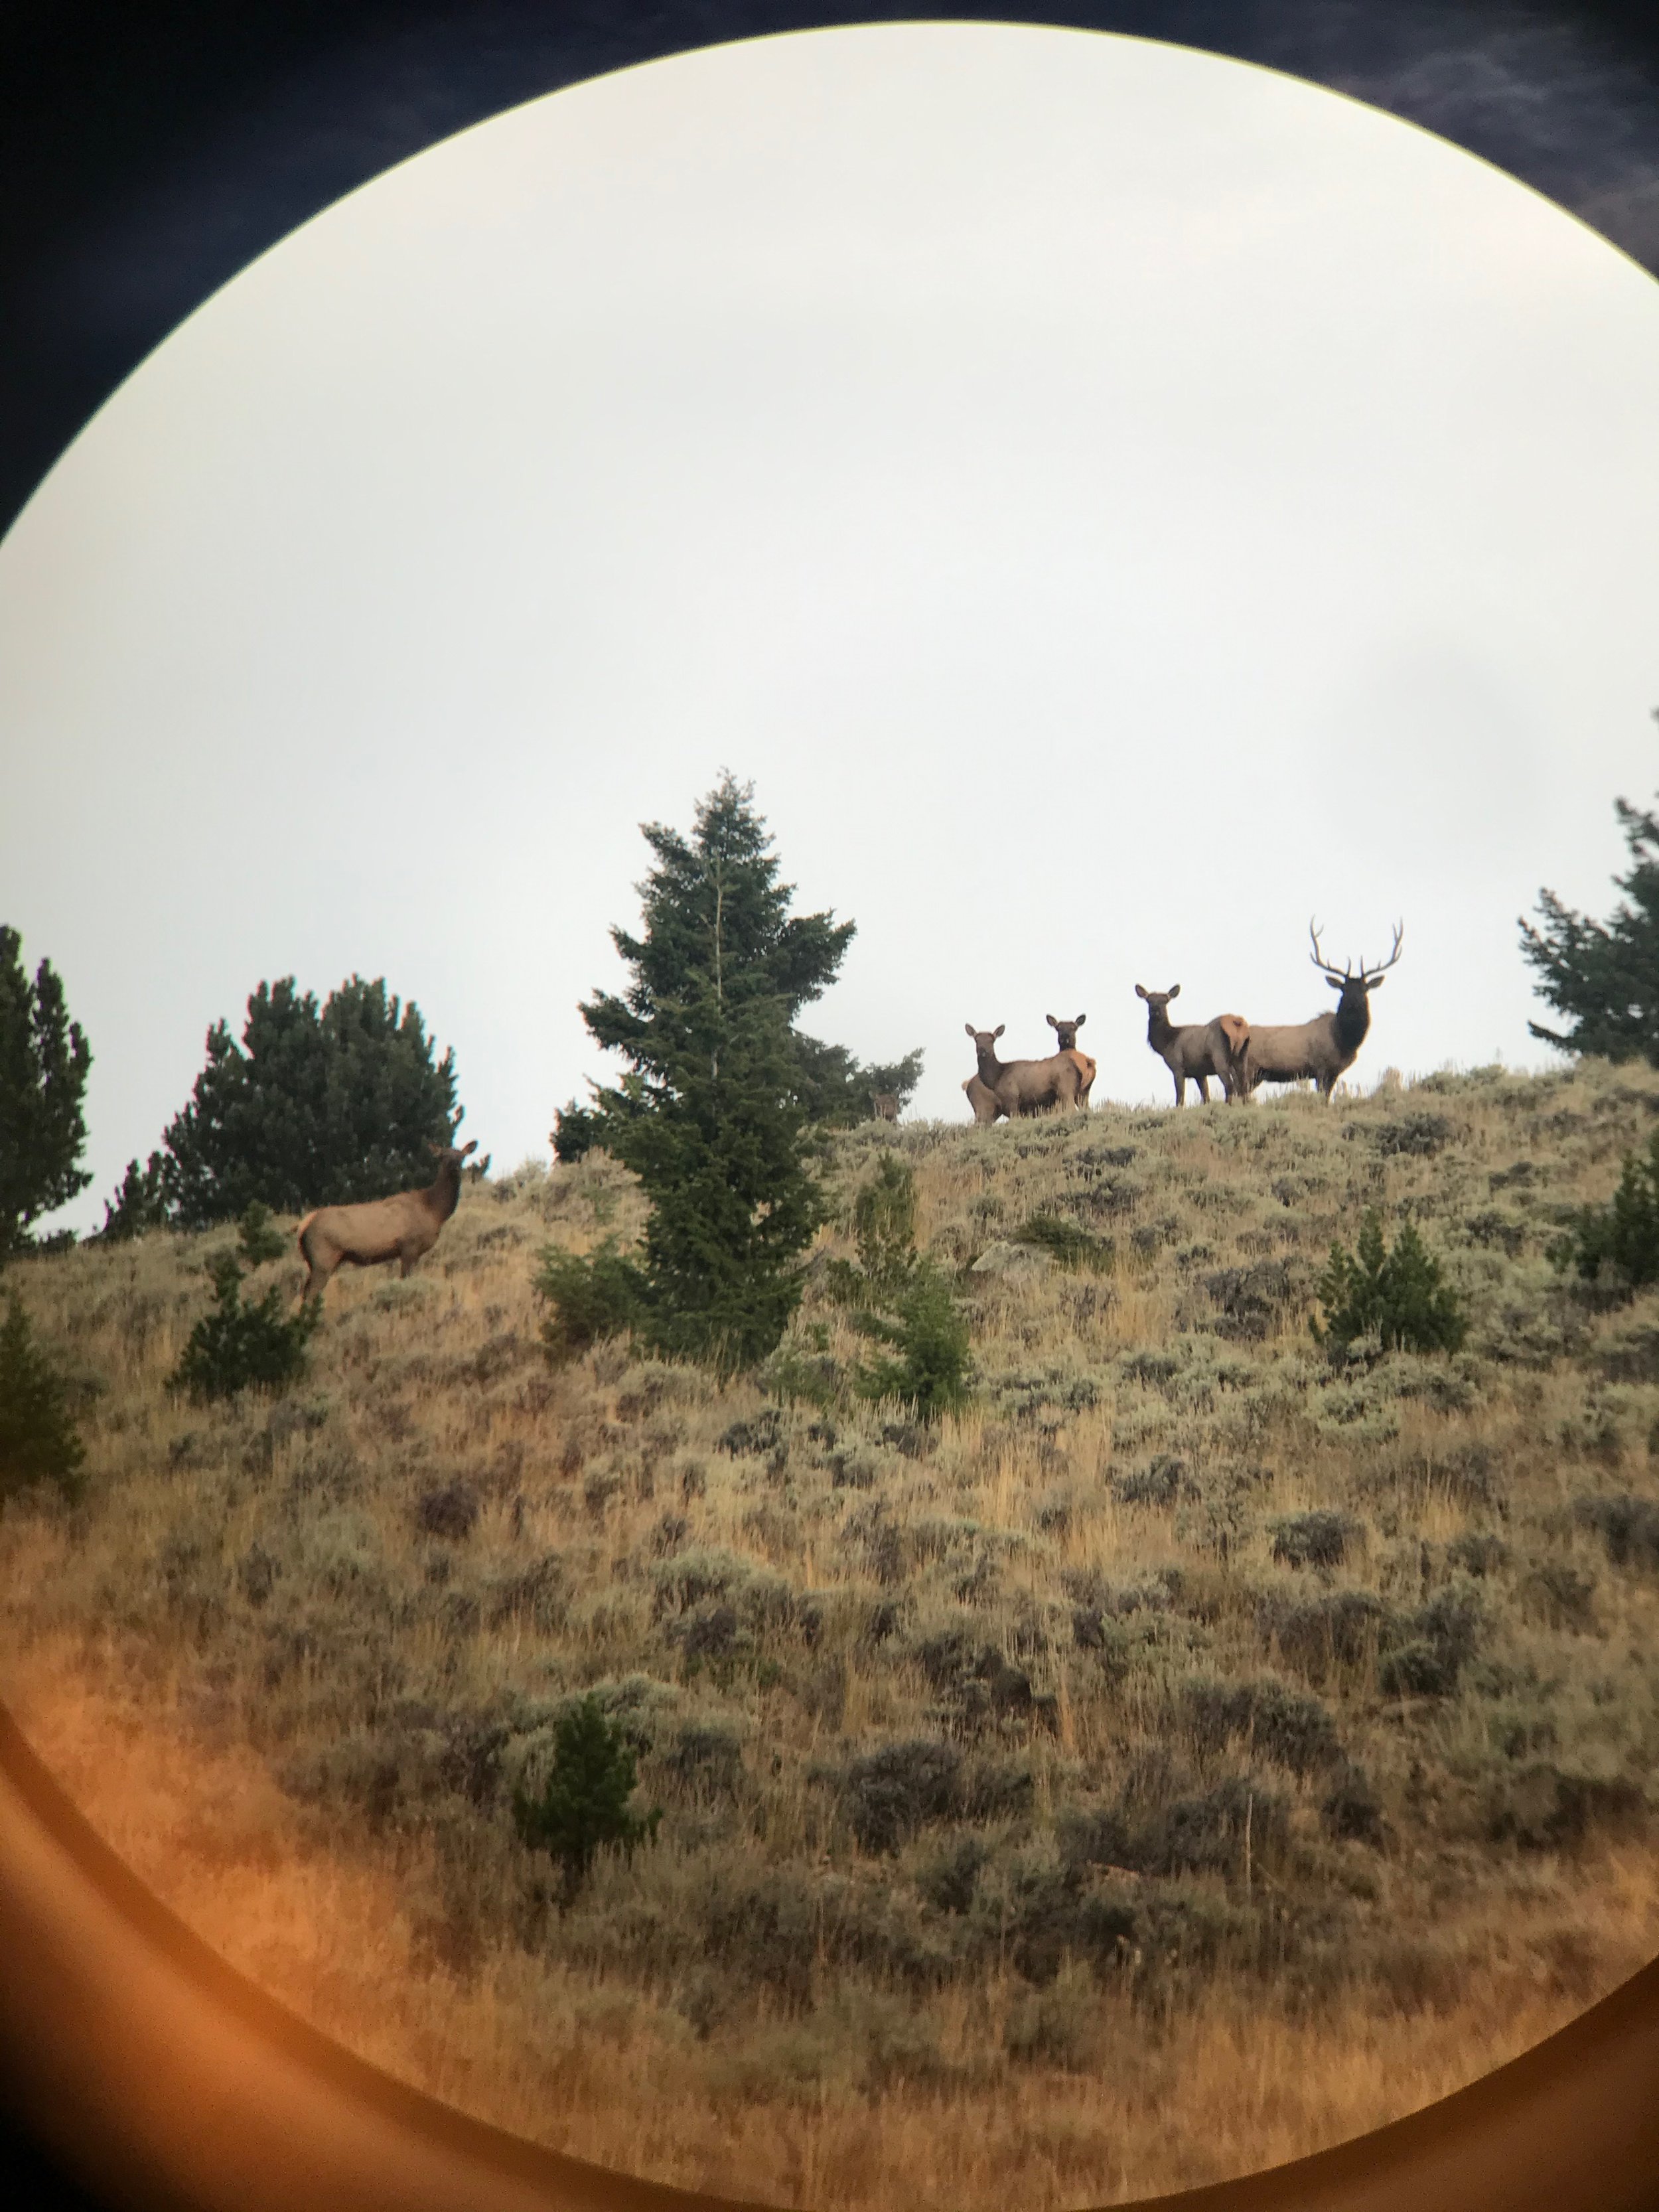
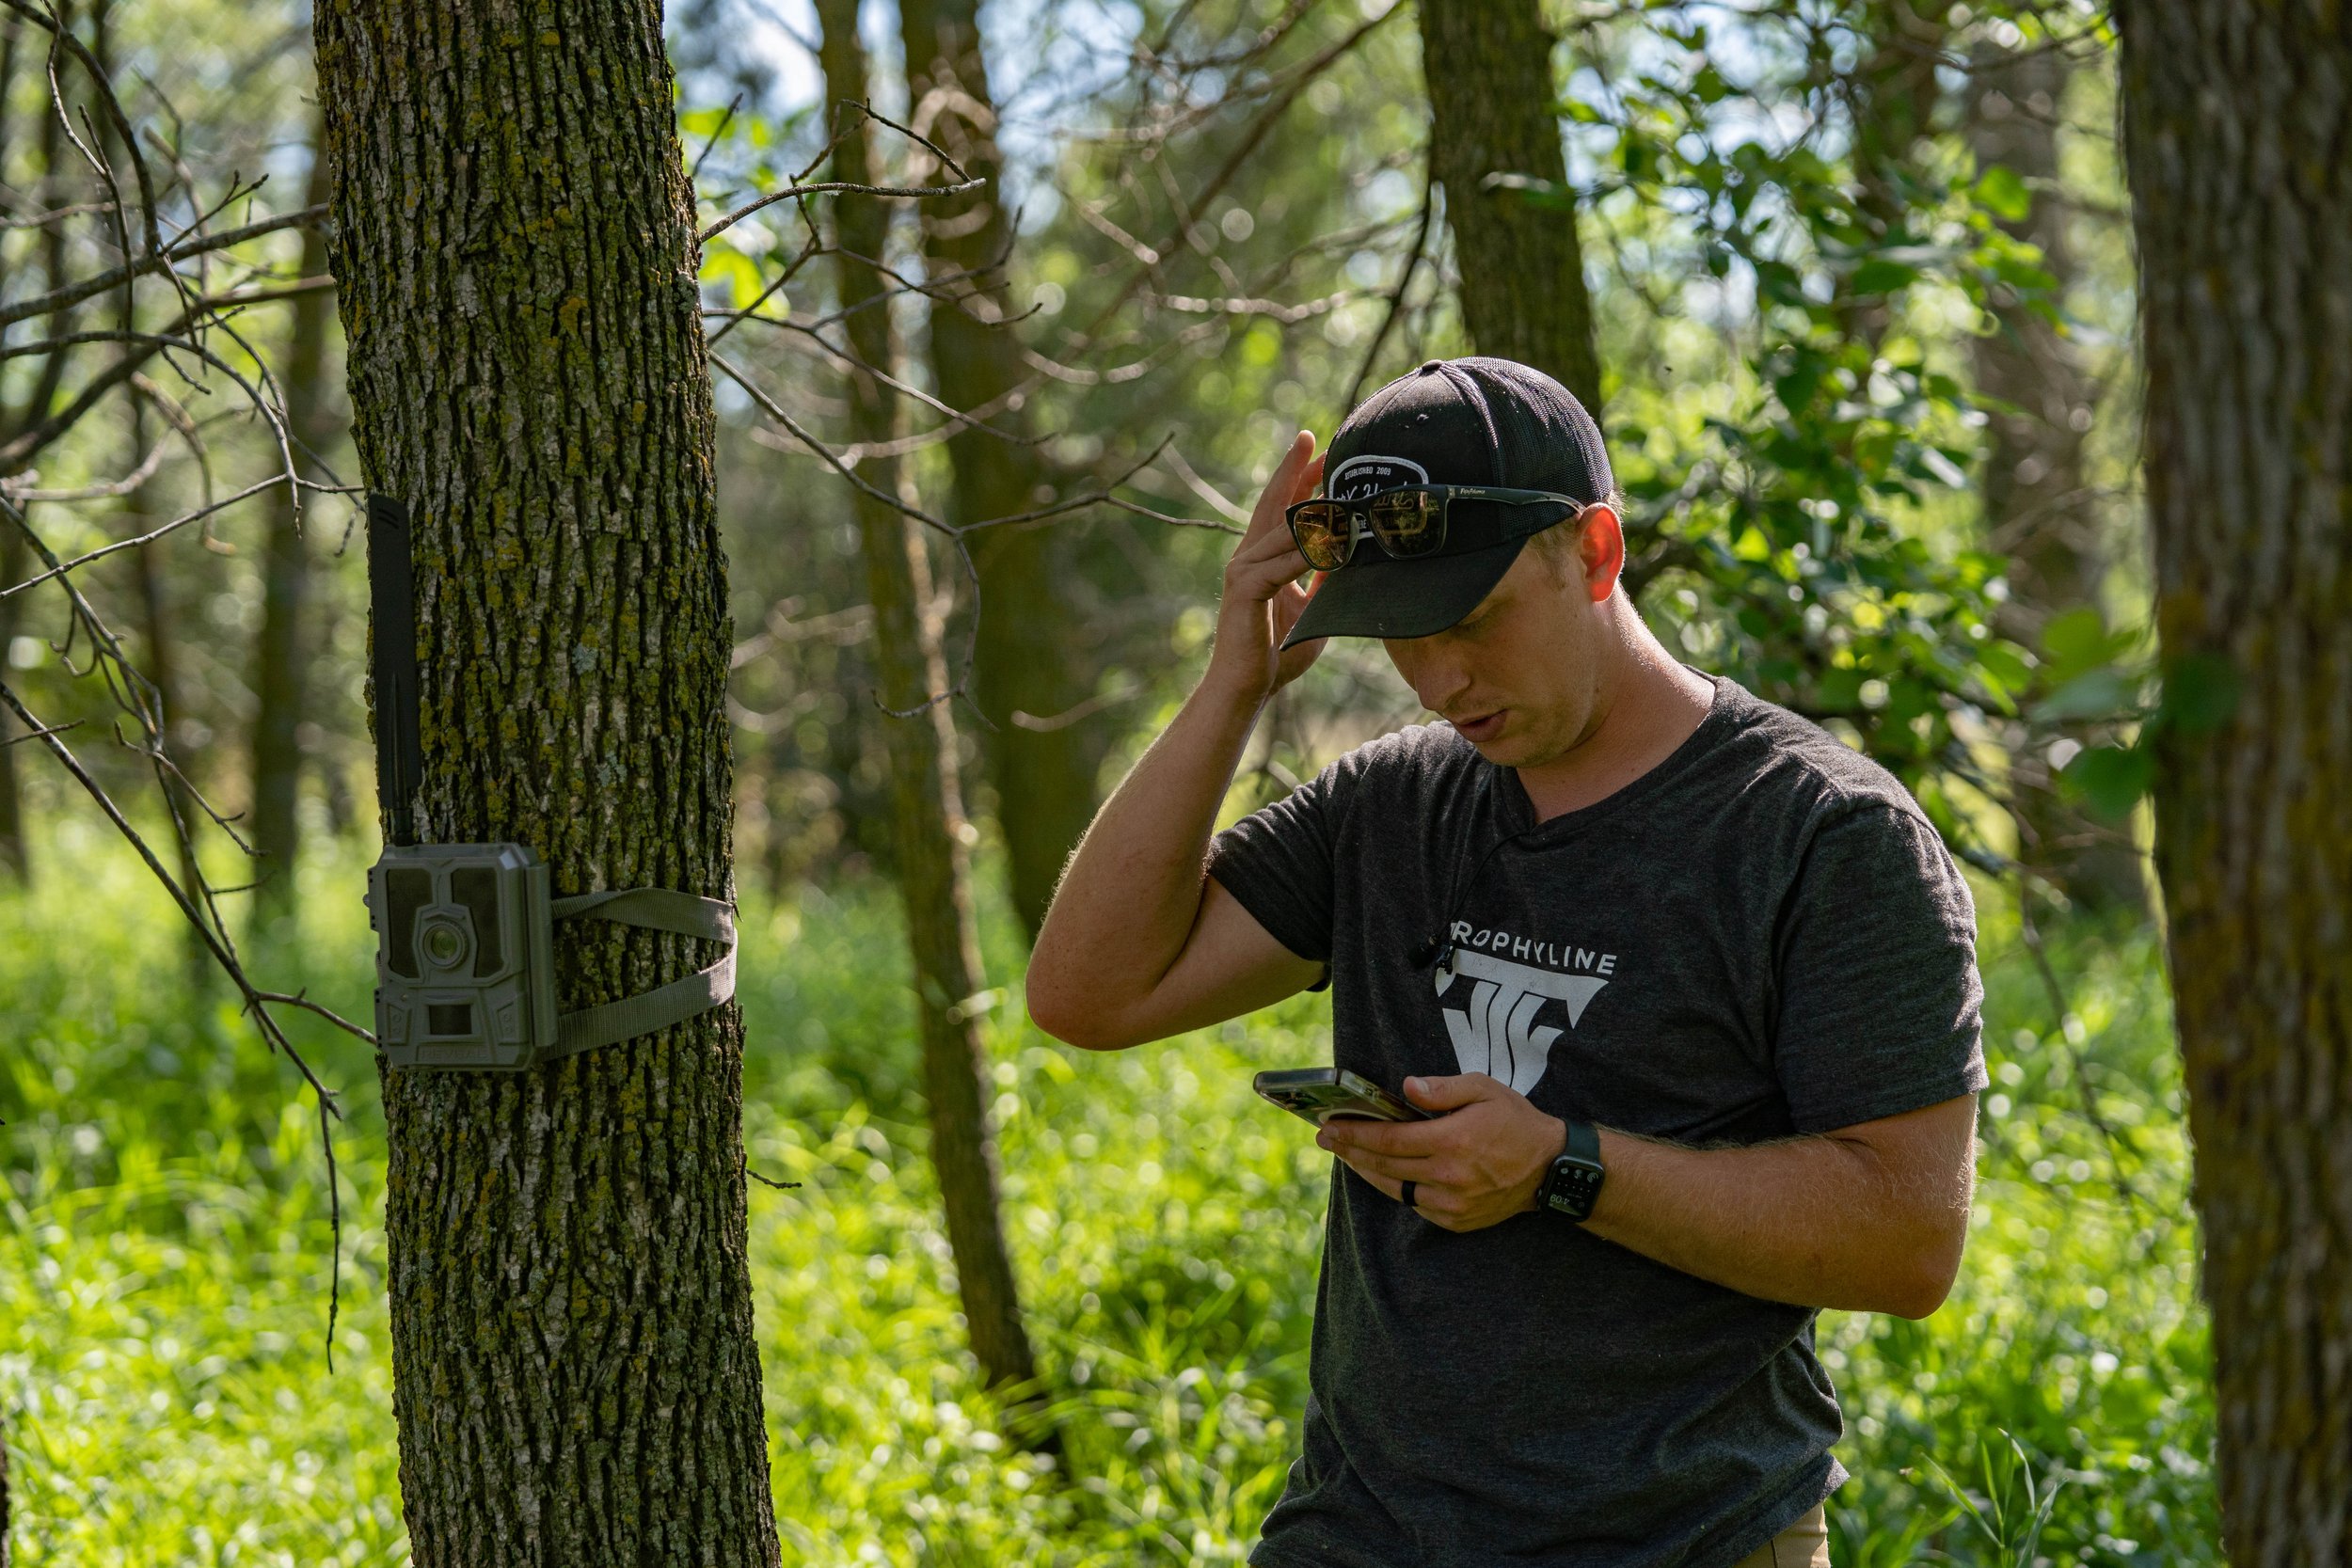
Location. Location is one of the most important components that comes to mind in order to get that perfect setup. You can do everything else right, but when a camera is in the wrong location, all the rest can just get tossed out the window. So what does the perfect location entail? Spooking deer is the most prominent reason that a setup fails. And it usually has nothing to do with the location of the camera itself, the problem is getting to that camera. Having a camera in an area where there is already a fair amount of human activity is the first step to a perfect setup. This is most commonly on the edge of a field, where deer see farmers on a regular basis. If you can drive right up to your trail camera, get out of the vehicle quickly, swap SD cards, and be on your way, you have a start on a good location.

Looking to read more about trail cameras? Check out these two articles that can benefit how you use cameras to your advantage and manage your pictures.
Trail Cameras, Help or Hindrance?
The 2nd step to a great location seems obvious, but sometimes can get overlooked when searching for a less intrusive spot. Deer activity. If your talking about summer, this usually means getting a camera in a known feeding area. Walk field edges looking for a concentration of deer tracks, or heavily used trails leading to a feeding area. During the rut, a great place to have a camera is in a pinch point or funnel, and that way you can simply check your trail camera on your way into the stand. This goes back to the first part of having a great location. To avoid spooking deer, during the rut I usually only check my trail cameras on the way to a stand.
Location within a location. Now that you've got a killer spot to place a trail camera, it's time to get down to the nitty gritty. When I am worried strictly about deer, and inventory (meaning I'm not concerned with cool looking pictures, etc.) I want to have my camera faced North if at all possible. This will prevent having the sun ruin any pictures in the early morning or late evening. Think, if you have your camera faced West, the sun will be directly hitting the lens of the camera in the evening, and the same goes for the morning hours when the camera is faced East. You can get a little bit of this when faced South as well, but if you have to, a South facing camera is not the end of the world in my mind.
After establishing where you want the camera to face, to have the absolute perfect trail camera setup, you need the right tree (or spot if no trees are available where you want them). Having a tree where you can put a camera up at normal waist height or so is fine, but doesn't constitute a perfect tree in my books. Placing a camera up above your head and angling it downward is a picture perfect set up for two main reasons. First, it is out of eyesight of any wary mature bucks. Trail cameras themselves have been known to spook deer on occasion, and when they do, it is usually the smartest oldest buck in the neighborhood. Secondly, it aids in prevention of the camera being stolen. I've been fortunate enough to only have a couple cameras stolen in my lifetime, but when it happens, it's probably the most frustrating occurrence in the deer woods.
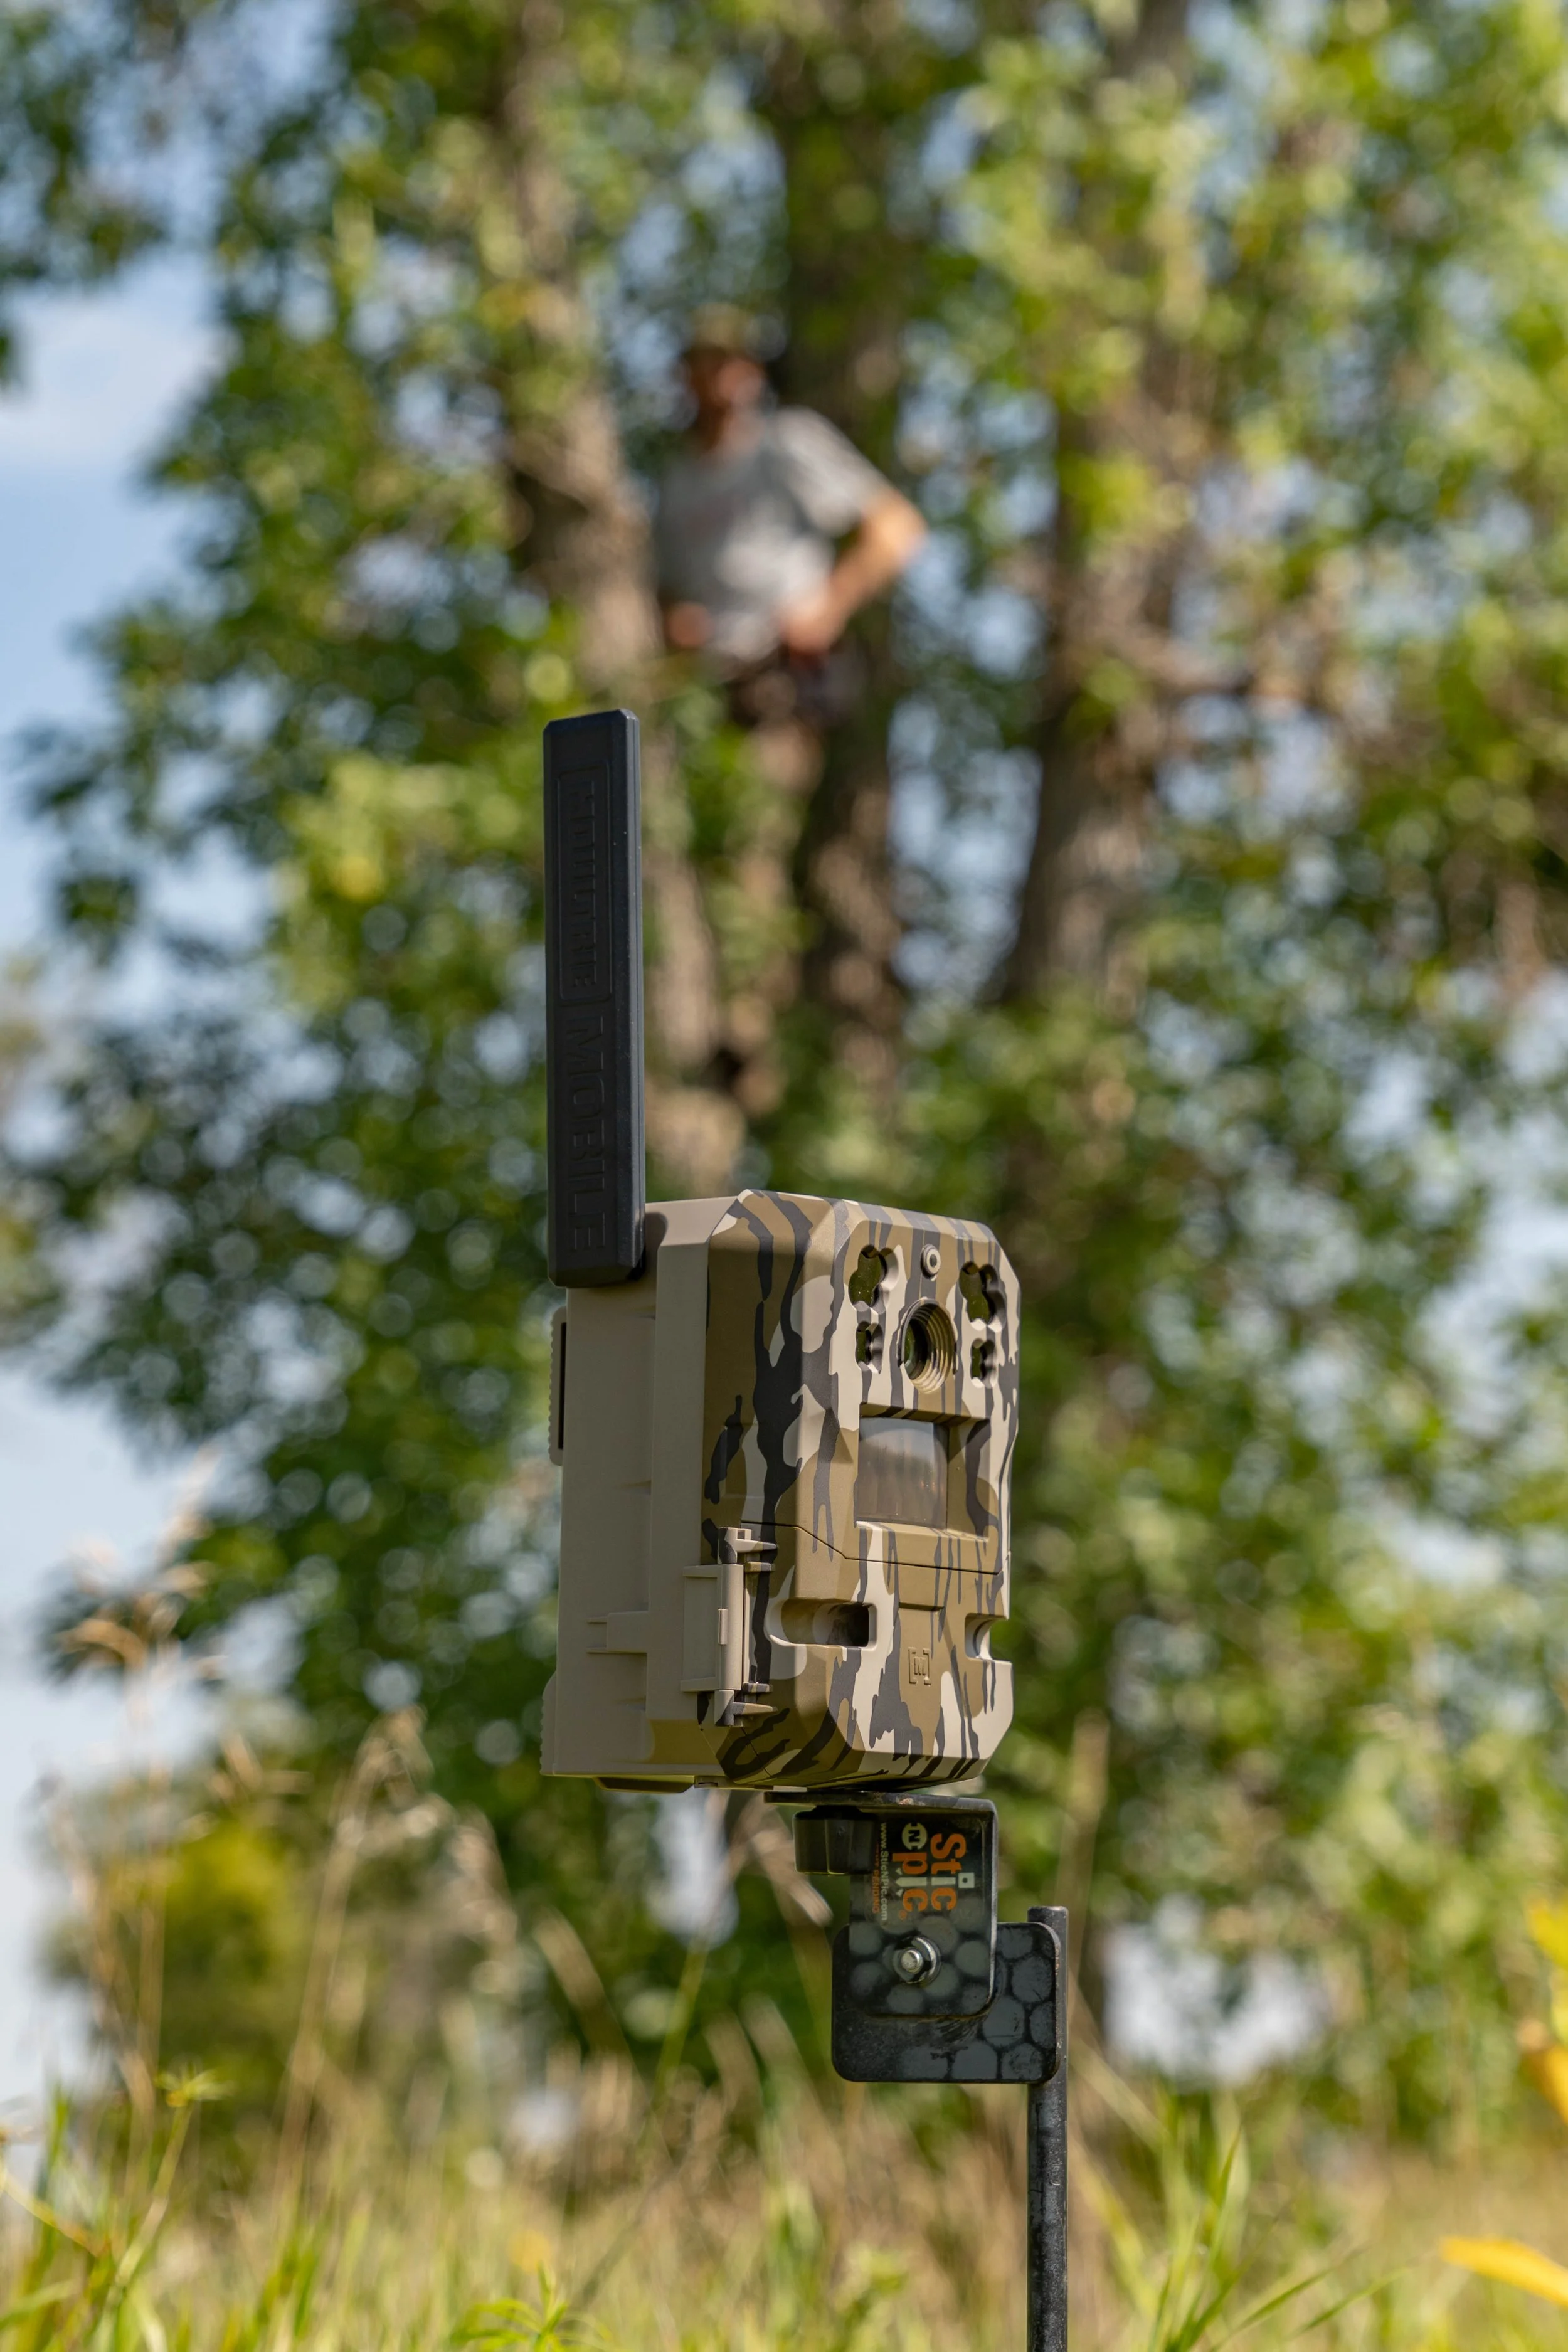
If there are no suitable trees in your area, that doesn't mean you can't have a perfect setup. What I do is drive a steak (similar to a fence post) into the ground and secure the camera to that. You won't have the opportunity to have it as high and pointed downwards, but it gets you into the perfect location at the very least. Another route that you could go, which I still have to try, is using the product called Stic-N-Pic. They have a variety of products that range from their original product which you screw your camera on, and drive into the ground, to tree mounts. This product is something that could be a game changer for you if you find it difficult to get your trail cameras exactly where you want them.
Distance. The last component of a perfect trail camera setup is how far away you actually place your camera from where you expect the deer to be standing or walking by. It is more tempting to put the camera close to the designated trail or feeding area, but by placing it further away, you allow yourself to capture more of the surrounding. I like to have my camera so I can see beyond what it will be taking a picture of. For example, if you have your camera in a feeding area, instead of placing it right where the trail leads out into the field, place the camera back a ways so you don't only capture a picture of the deer walking out into the field, but so you can see past the deer that triggered the camera further into the field to get a better idea of how deer are exactly using the area.
The perfect trail camera setup doesn't always come with every camera you put out in the woods. A lot has to come together for it to truly be the perfect spot. The more factors that apply to a perfect setup that you can accomplish, the better your trail cameras setup is going to be.